Your refrigerator is undoubtedly the hardest-working appliance in your home. Unlike your oven, dishwasher, or washing machine, it runs 24 hours a day, seven days a week, constantly battling the external environment to keep your perishable food safe and fresh. In a climate like Dubai, where ambient temperatures remain intensely high for most of the year, your refrigerator’s compressor and cooling systems endure a massive, non-stop workload.
Without proactive upkeep, even the highest-quality, premium refrigerators will eventually suffer from declining cooling efficiency, higher electricity consumption, and sudden mechanical failures. Implementing a regular, structured maintenance routine is the single best way to protect your financial investment and avoid waking up to a fridge full of spoiled groceries. This comprehensive refrigerator yearly maintenance checklist covers everything you need to know to keep your appliance in absolute peak condition, ensuring it serves your family reliably for years to come.
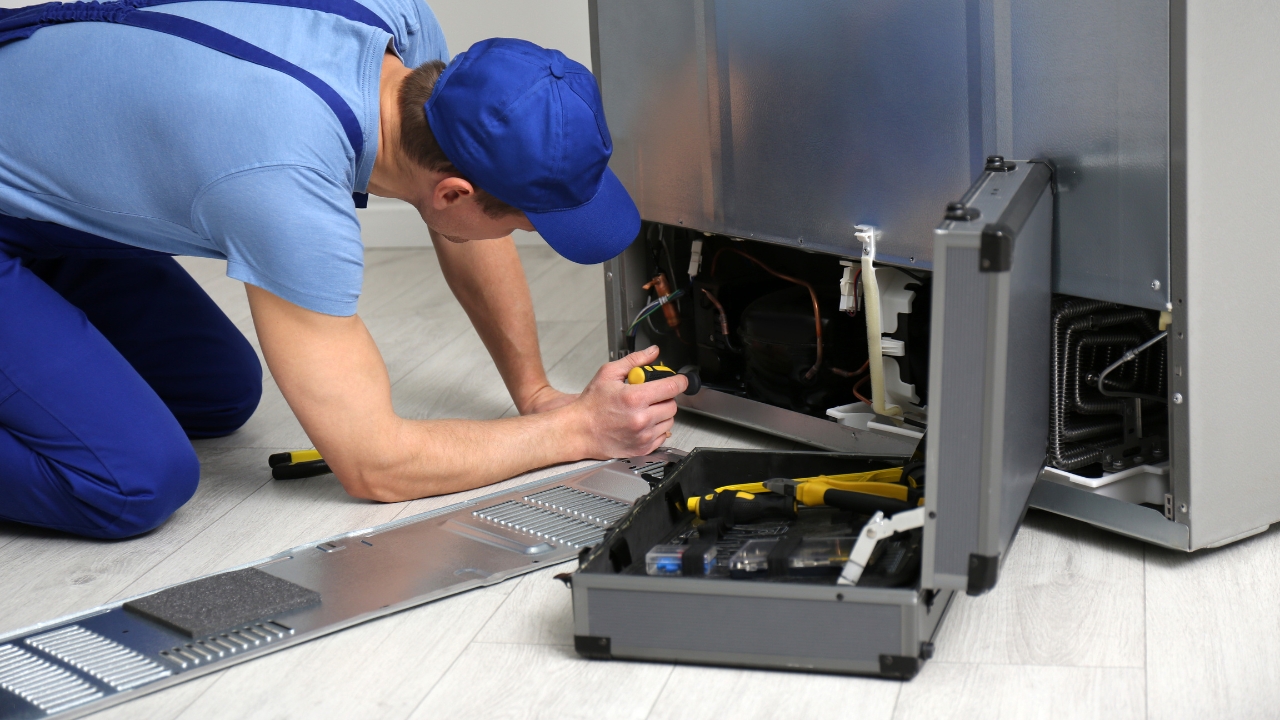
Why Is Refrigerator Maintenance Crucial in Dubai?
The climate in the United Arab Emirates places unique and extreme stress on household cooling appliances. Every time you open your refrigerator door, the heavy, chilled air spills out onto your kitchen floor, and warm, humid indoor air rushes in to replace it. The appliance must then work aggressively to pull that heat and moisture back out of the sealed system.
When core components like condenser coils become clogged with household dust, or when rubber door seals weaken, the refrigerator struggles to reject this captured heat. This forces the compressor to run continuously without its normal resting cycles. A continuously running compressor not only spikes your monthly utility bills but also dramatically shortens the mechanical lifespan of the appliance. Staying on top of basic upkeep is just as important for your fridge as routine home appliance repair is for your heavily used washing machines and air conditioners. Regular care reduces energy usage, saves you money, and prevents premature, costly breakdowns.
The Ultimate Refrigerator Yearly Maintenance Checklist
To maintain optimal cooling performance, electrical efficiency, and food hygiene, follow this step-by-step checklist. While some tasks should be done annually, others are best performed every few months.
1. Clean the Condenser Coils (Every 6 Months)
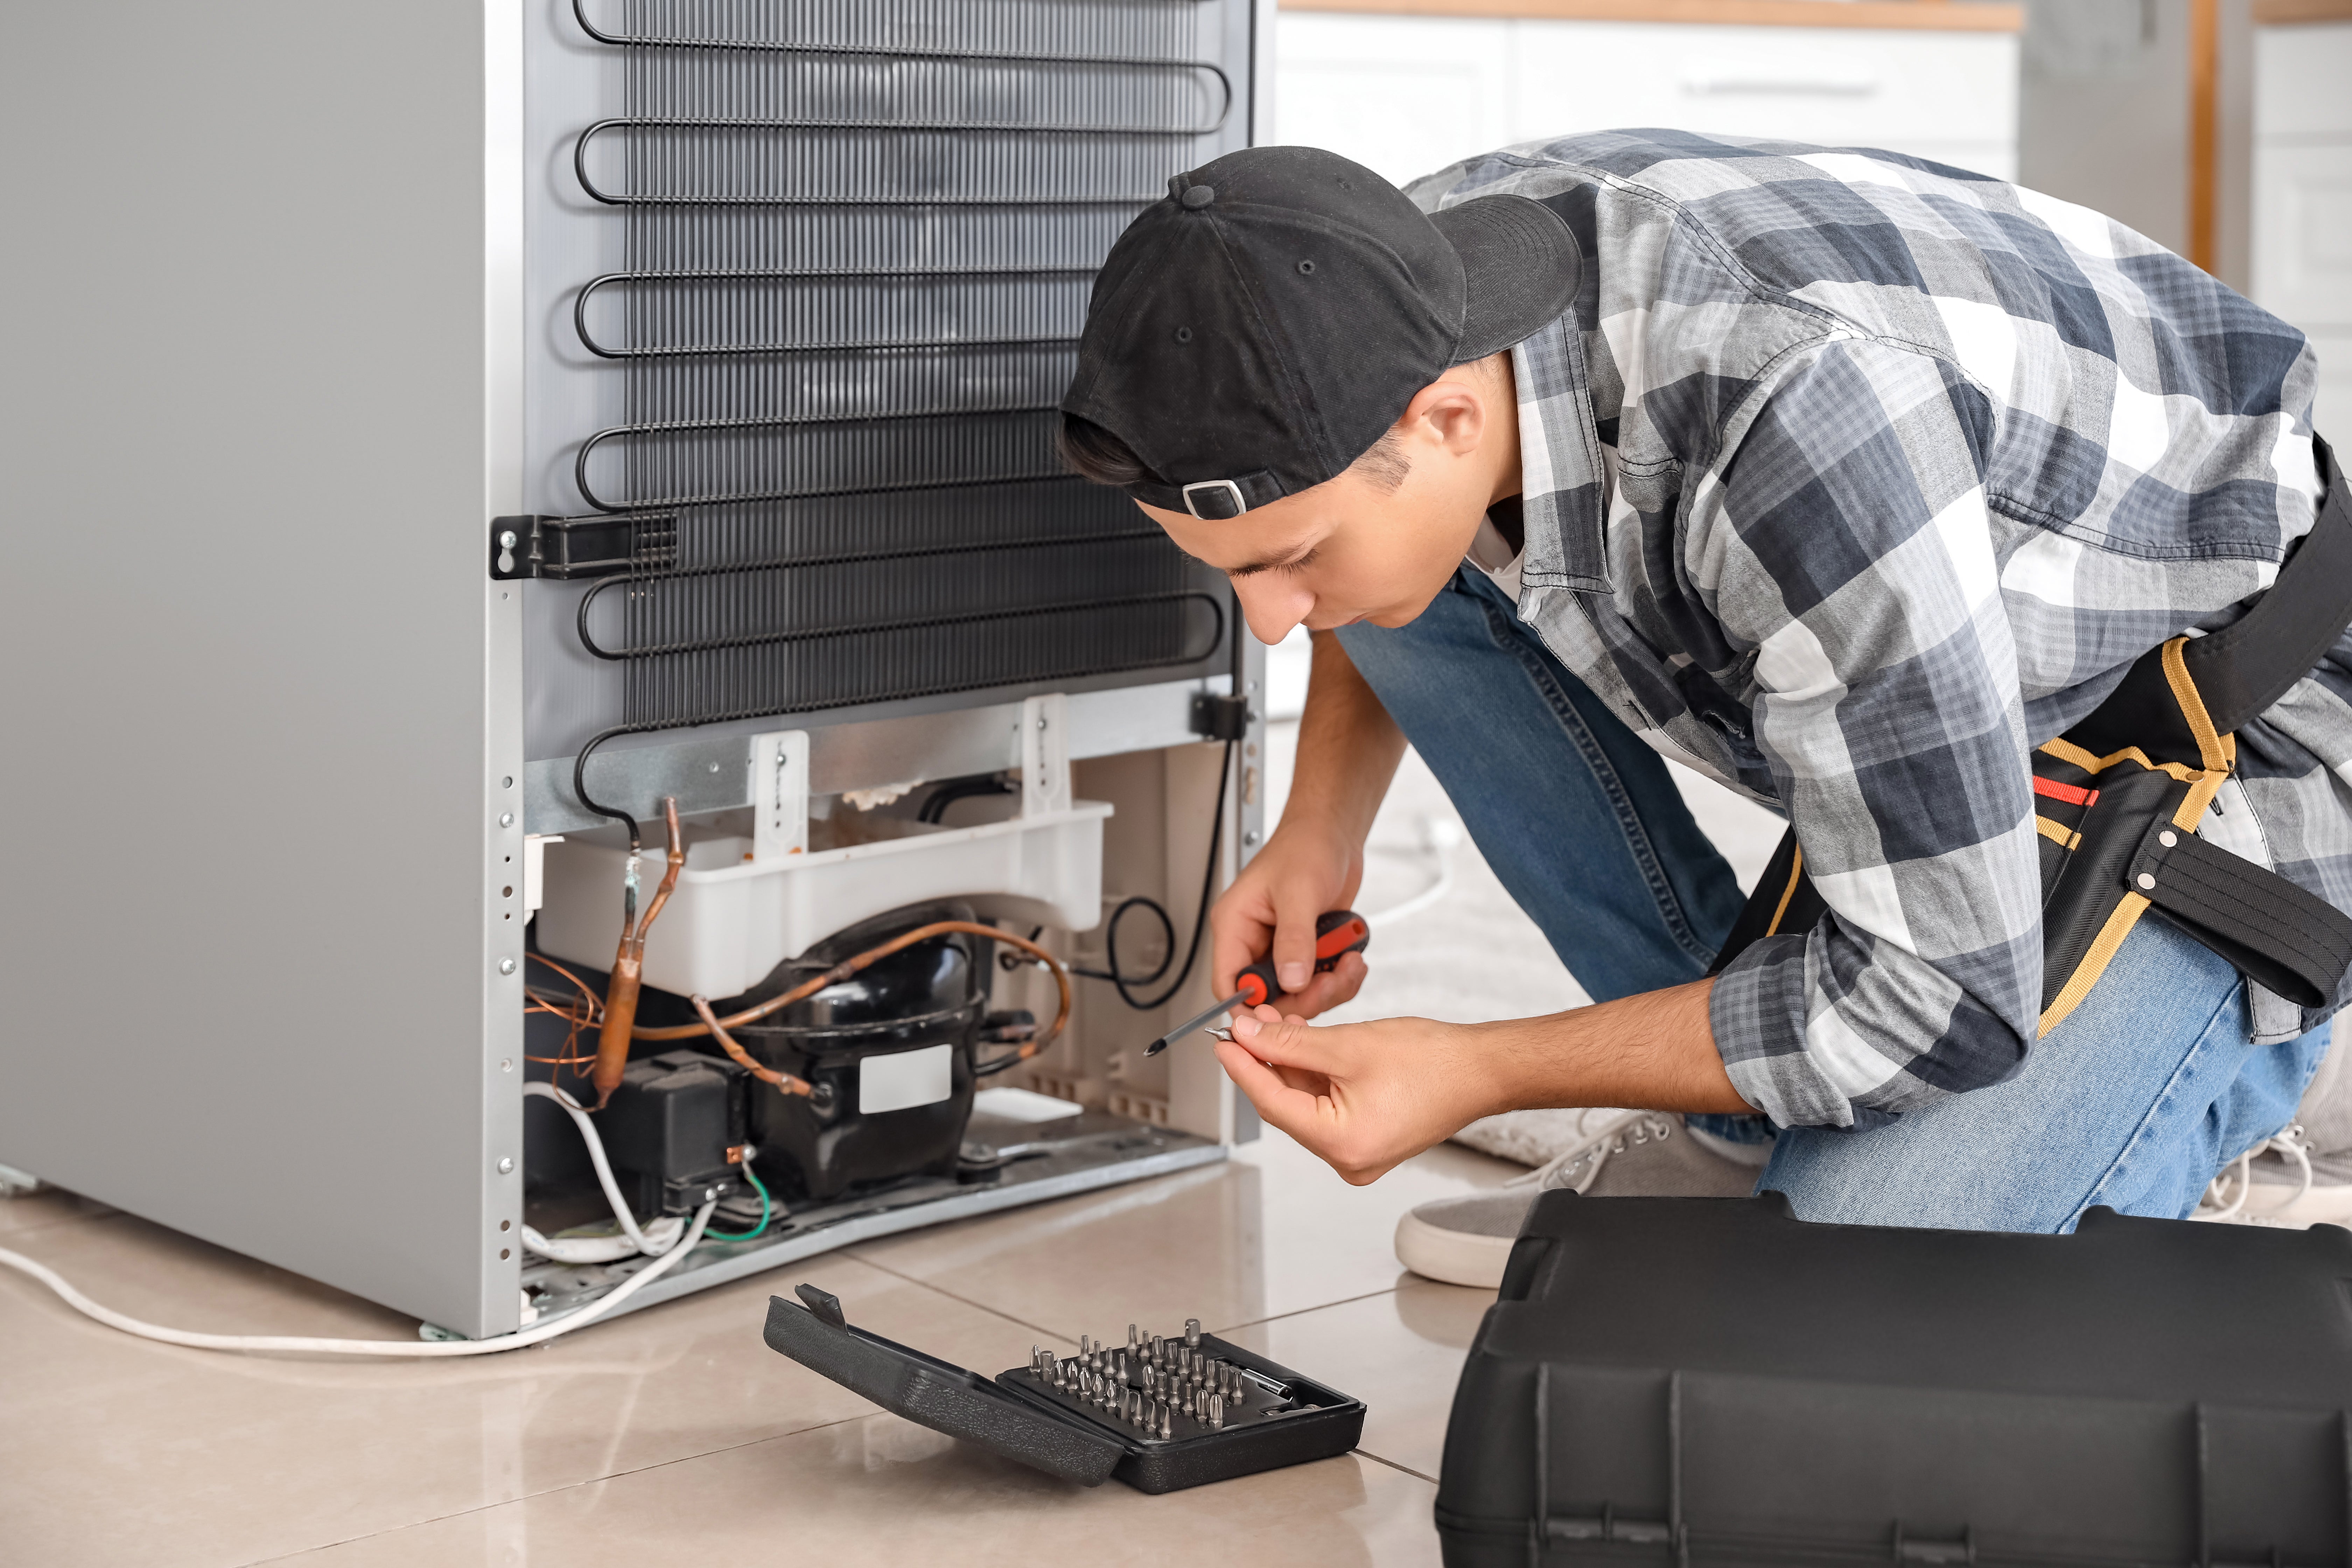
The condenser coils, usually located at the back or underneath the refrigerator behind a base grille, are responsible for releasing the heat absorbed from the inside of the fridge into the room. Over time, these coils attract a thick layer of dust, pet hair, and kitchen grease. This debris acts as a thermal insulating blanket, preventing heat from escaping.
How to clean them: Always unplug the refrigerator from the wall before starting this task. If the coils are underneath the unit, remove the front base grille and use a specialized long coil brush or a vacuum cleaner with a narrow crevice attachment to carefully remove the dust. If the coils are on the back, gently pull the fridge away from the wall and vacuum the black metal grid. If your coils are heavily caked in grease and dust, it may be time to schedule professional refrigerator repair and servicing to have the system safely deep-cleaned.
2. Inspect and Clean the Door Seals (Every 3 Months)
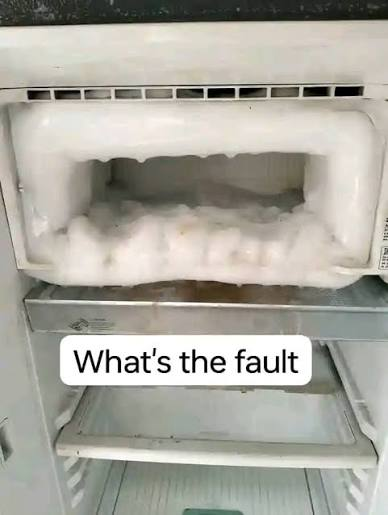
The rubber gaskets (seals) around the doors are the only things keeping the freezing cold air locked inside the cabinet. If these seals become dirty, cracked, or loose, warm air will constantly seep into the fridge. This leads to erratic temperature fluctuations and excessive internal condensation, which eventually turns into thick frost.
How to maintain them: Wipe the seals down with a soft sponge and warm, soapy water to remove sticky fruit juice or food residue. To test the magnetic tightness of the seal, close the door on a piece of paper or a banknote. If you can pull the paper out easily without feeling any resistance, the magnetic seal is failing and the gasket needs to be replaced immediately.
3. Change the Water Filter (Every 6 Months)
If your refrigerator features a built-in water dispenser or an automatic ice maker, it relies heavily on a disposable water filter to remove impurities, chlorine, and hard mineral deposits from the municipal water supply. An old, clogged filter will cause water pressure to drop significantly, reduce your daily ice production, and can even harbor unpleasant bacteria that alter the taste of your water.
How to change it: Locate the filter housing—usually inside the top right corner of the fresh food compartment or hidden behind the bottom base grille—and twist the old filter out. Always replace it with an OEM (Original Equipment Manufacturer) filter that is strictly recommended for your specific model.
4. Clear the Drip Pan and Defrost Drain (Yearly)
Modern frost-free refrigerators work by melting ice off the internal evaporator coils during automatic defrost cycles. This melted water flows down a small drain hole at the back of the fridge and into a drip pan located underneath the unit, where the heat of the compressor naturally evaporates it. If the drain hole gets clogged with food crumbs or frozen condensation, water will back up and pool under your crisper drawers.
How to clean it: Locate the drain hole behind the bottom crisper drawers. Use a flexible pipe cleaner, a cotton swab, or a turkey baster filled with warm water to gently flush out any physical blockages. If your exterior drip pan is accessible, slide it out and wash it with warm soapy water to prevent foul, moldy odors from developing under the appliance.
5. Check and Calibrate Temperature Settings (Monthly)
Storing your food at the wrong temperature encourages rapid bacterial growth and forces the appliance to work much harder than necessary. According to the U.S. Food and Drug Administration (FDA), maintaining correct temperatures is the most effective way to prevent foodborne illnesses at home.
How to set it: Ensure your refrigerator is set between 3°C and 4°C (37°F to 40°F), and the freezer is set to exactly -18°C (0°F). Avoid packing the shelves so tightly that air cannot circulate; the internal fans need clear, unobstructed pathways to distribute cold air evenly across all shelves.
Daily and Weekly Refrigerator Care Habits
While deep mechanical maintenance is required yearly or bi-annually, your day-to-day habits heavily influence your appliance’s longevity and performance. Exploring our services for routine appliance upkeep is helpful, but home habits matter just as much:
- Keep it stocked, but not stuffed: A full freezer actually retains cold better than an empty one. The frozen solid items act like ice blocks, helping the fridge recover its target temperature very quickly after the door is opened. However, do not block the air vents at the back.
- Wipe acidic spills immediately: Spills from orange juice, tomato sauces, or marinades can permanently stain the plastic interior and chemically degrade the rubber door seals if left unattended.
- Let hot food cool before storing: Placing piping hot leftovers directly into the fridge raises the internal temperature drastically. This forces the compressor to run a long, emergency cooling cycle to stabilize the environment.
When Should You Call a Professional for Refrigerator Repair?
Routine maintenance will prevent most common household issues, but moving mechanical components eventually wear out over time. You should seek professional assistance if you notice the compressor running without ever shutting off, loud grinding or clicking noises coming from the back, rapid frost buildup in the freezer, or if the fresh food compartment feels unusually warm despite being set to the correct temperature.
Because modern refrigerators feature highly complex sealed cooling systems, flammable refrigerants, and sensitive electronic control boards, attempting DIY mechanical repairs is dangerous and will likely void your manufacturer’s warranty. When basic maintenance is no longer enough to keep your food cold, trust the experts. Contact us at FixFast LLC for fast, reliable, and professional appliance service anywhere in Dubai. Our certified technicians can accurately diagnose faulty compressors, locate hidden refrigerant leaks, and restore your appliance to absolute peak efficiency.
Frequently Asked Questions
How often should I clean my refrigerator condenser coils? You should clean your refrigerator condenser coils at least twice a year. If you have shedding pets in the house or live in a particularly dusty environment, cleaning them every three to four months is highly recommended to maintain airflow.
Why is water pooling at the bottom of my fridge? Water pooling under the crisper drawers is almost always caused by a blocked defrost drain tube. Food particles or solid ice build up in the drain hole, preventing normal condensation from flowing down into the exterior drip pan.
Can a bad door seal cause a refrigerator to stop cooling? Yes, a failing door seal allows cold air to escape constantly and warm, humid air to enter. This constant heat infiltration overwhelms the compressor, leading to poor cooling performance and excessive frost buildup on the internal evaporator coils.
How do I know if my refrigerator compressor is failing? Signs of a failing compressor include continuous operation without actually cooling the interior, loud humming or knocking noises, frequent circuit breaker trips, or the back wall of the refrigerator feeling excessively hot to the touch.
Why does my refrigerator smell bad even after I clean the inside? If the interior is completely clean but a bad odor persists, the smell is likely coming from the hidden exterior drip pan underneath the unit. Stagnant defrost water can grow mold and bacteria, requiring the pan to be manually removed and sanitized.
When should I call a technician for refrigerator problems? You should call a professional technician if your fridge stops cooling entirely, leaks fluid or refrigerant, makes loud mechanical grinding noises, or continuously runs without cycling off.



![10 Common Refrigerator Repair Problems [2025]](https://alkaramatechnical.com/wp-content/uploads/2025/05/refrigerator-technician-near-me.jpg)